Wooden axe handles suffer different kinds of wear and tear. Normally they do not just brake. It is always possible to replace them, but axe handles are not cheap and in most cases they are repairable and made even stronger.
What you need
- Quality and proper epoxy resin
- PE (Plastic) cup for mixture
- brushes
- proper protection gloves
- cotton wool
- glass filament fabric
Warning
Unhardened epoxy resin is toxic! Most unhardened epoxy resins contain Bisphenol (often A or F) which are highly toxic.
Important: Hold exactly to the instructions of the epoxy resin, use proper protection gloves (no one time use). The ratio of epoxy and hardener needs to be exact and temperature sufficient.
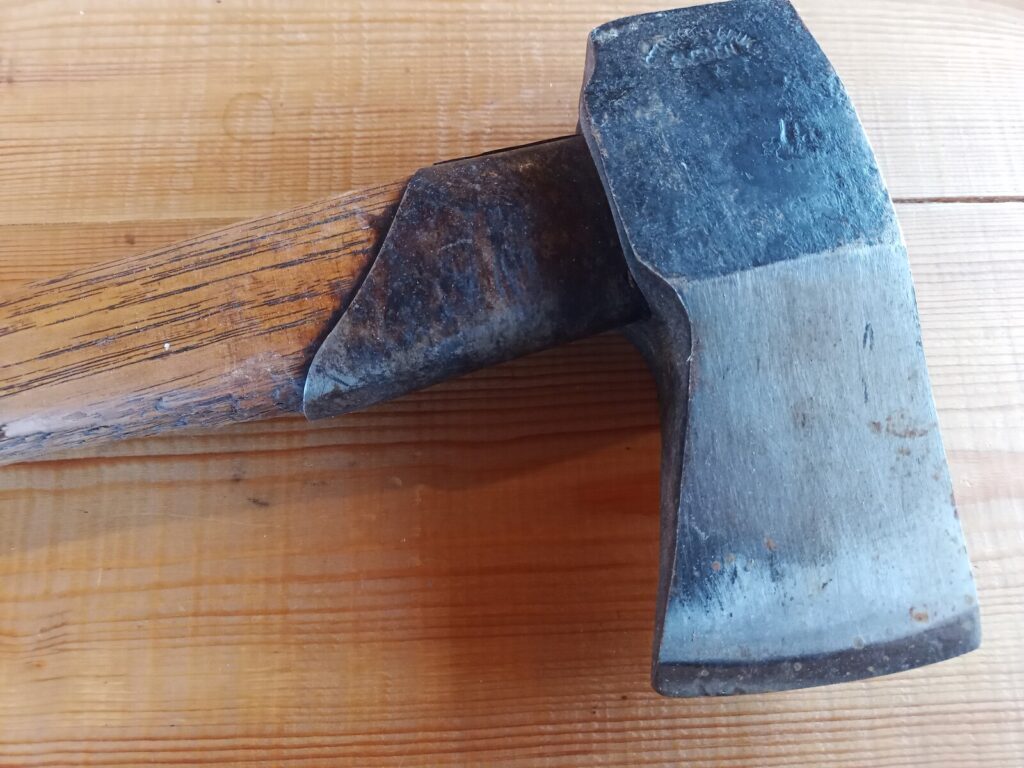
Problem 1: loose axe head
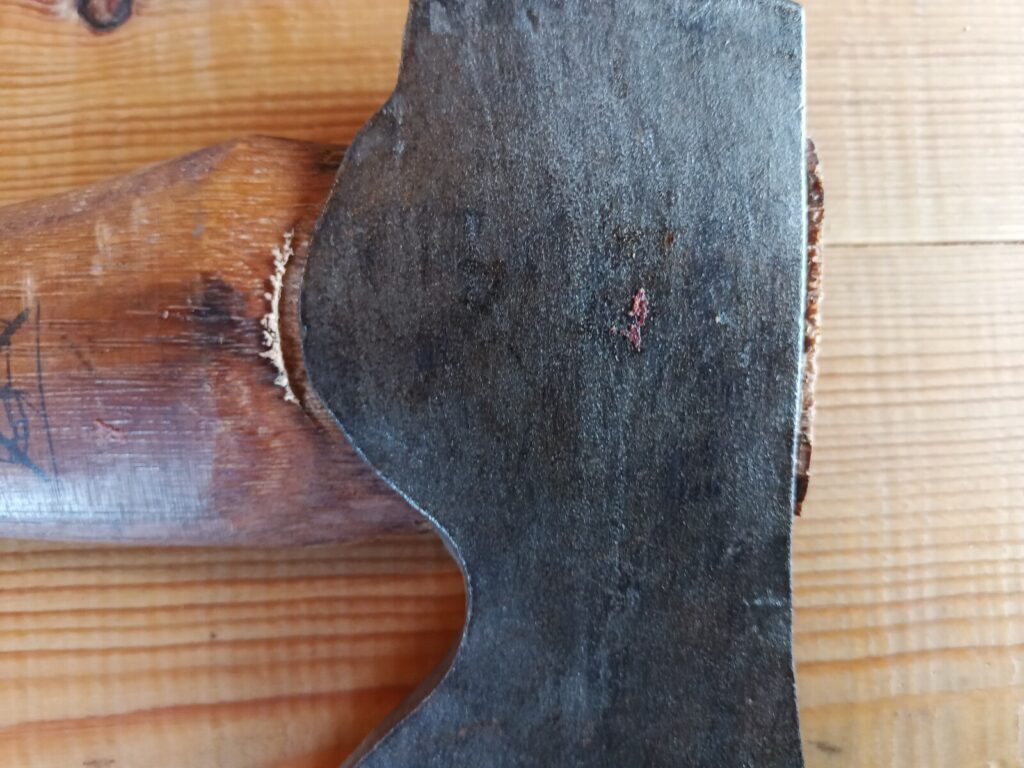
The wooden fibers above and under the axe head suffer a lot of compression force from the head during usage. When the temperature and humidity change there is additional swelling or drying of the wood. Both factors can make the axe head slightly loose. When this happens you should immediately stop using the axe without a proper repair. If you continue using it the now slightly loose axe head can wander up and down during usage and hammer against the fibers leading to worsen the problem very fast.
For the repair you need a two component epoxy resin. This is basically the best kind of glue, top-coat, gel-coat you can get out of all common glue/coats. Additionally glass filament fabric is very useful.
Instructions without fiberglass
- Make sure, that the handle is completely dry (also inside).
- Clean the metal with ethanol.
- Hammer the head to the lowest position.
- Fixate the axe in a upright and straight position, for example by hammering the blade in some vertical standing wood.
- Apply resin on top and on the bottom of the head. Make sure the top fills up with resin and form a clot there which prevents the head from getting up. Also try to fill the bottom or do it in a second round.
- Spread the resin equally and remove drops.
- When the epoxy is hardened you can grind it easily.
With this method the axe head normally is long term repaired. It just takes about 20 minutes. I did this simpler method with only one axe and the head never got loose again.
Instructions with fiberglass
I recommend the use of glass filament fabric. The reason is not so much that the fabric is so important for holding the head, but the resin will stay much nicer around the handle and head forming nice clots on top and bottom.
The handling of glass filament fabric can be very tricky as it floats on the resin. Practice before! The tidier you work the nicer and better the result gets.
- Make sure, that the handle is completely dry (also inside).
- Clean the metal with ethanol.
- Hammer the head to the lowest position.
- Fixate the axe in a upright and straight position, for example by hammering the blade in some vertical standing wood.
- Make a coating with epoxy resin on the head and the handle.
- Wrap one or several stripes of glass filament fabric like an U around the head on the sides of the head and handle. It depends how good the glass filament fabric is bendable for the result. When you have a very thick fabric only apply stripes on the sides instead of an U. Cut the glass filament fabric always tidy that you do not have over standing fibers.
- Apply resin until the glass filament fabric is drained in resin and fill up the top gaps. Try to form a clot there.
- Wrap glass filament fabric around the handle under the head. This fixates the glass filament fabric on the head and makes the handle tougher against impacts close to the head.
- Apply again as much resin as possible and spread it. Remove drops.
- When the epoxy is hardened you can grind it easily.


You can also cover the complete handle to make it waterproof and prevent sucking of moisture. I repaired several axes with this method and no one of them ever had a problem again (also not with Problem 2). You can cut or grind the epoxy easily.
If it is a splitting axe and the handle hits a lot of wood then it can help to reapply resin after some time (depending on how good your splitting abilities are 😉 ).
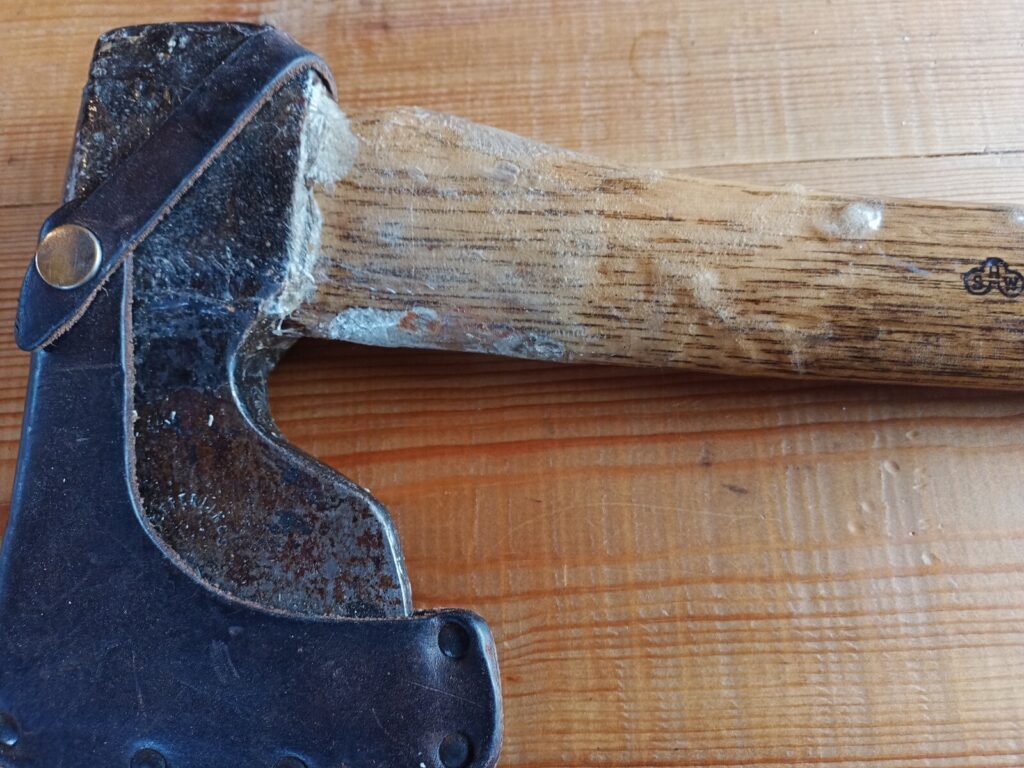
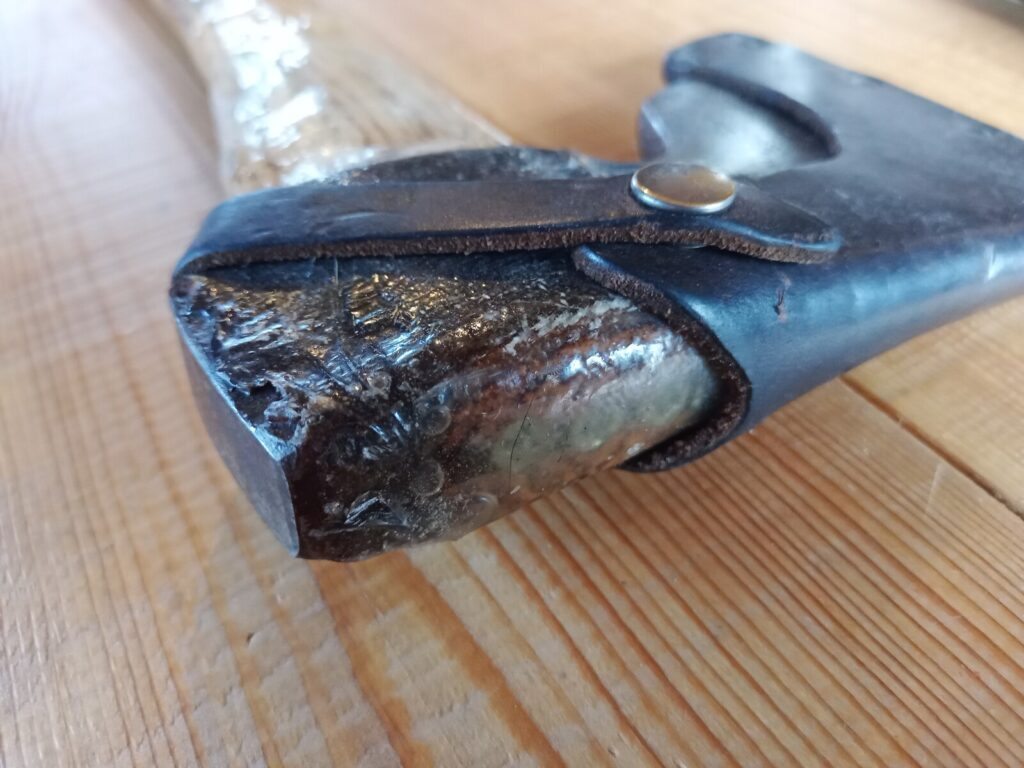
Problem 2: loosing fibers under the head
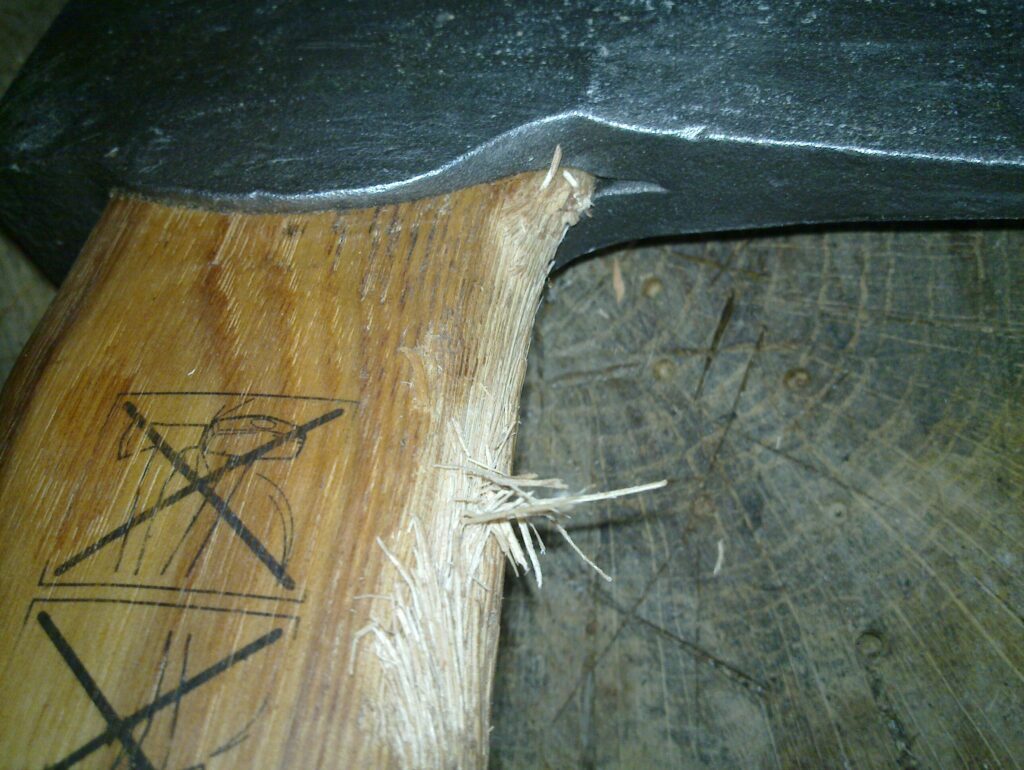
A common problem with lower quality handles is, that the wood starts to lose fibers under the axe head, caused by smashing against the wood. This is a common problem with splitting axes. That’s why some splitting axes have a metal plate wrapped around the handle under the head which protects the handle from the impacts. Other protections like leather or fabric normally wear out pretty fast and I do not recommend it.
When the axe loses more and more handle material it needs to be repaired, otherwise the handle will break.
Instructions
- Make sure, that the handle is completely dry (also inside).
- Clean the metal with ethanol.
- Apply resin on the handle.
- Mix cotton wool with resin to form a filler.
- Model it on the axe head to reshape it.
- Wrap glass filament fabric around the handle. You should make several layers. Try to prevent air bubbles.
- Apply resin until everything is soaked.
- Shape it again.
- When the epoxy is hardened you can grind it easily.
This repair is normally extremely strong against impact and it will be very difficult to break it.
Verdict


If you have an axe with bigger gaps on the top or bottom it is worth filling them up with epoxy (only the gaps). The friction between the head and the handle will not only increase greatly, also the epoxy will glue them together. By that you often prevent that the head gets ever loose.
If this is all too much work for you: buy a good axe with a fiberglass handle. They are practically not destructible and fail very very rarely. But for the wilderness, where you mainly need to cut wood, they are not ideal because of the shape of the head and they are normally heavy if you want a suitable handle length.